How to turn on a surfboard for beginners step-by-step
- Written by Emilia
- Published March 15, 2024
Post contents
Introduction
Have you caught a few waves and practiced your pop-up and your surfing stance? Great! Then you’re ready to start practicing how to turn on a surfboard. Just like all other fundamental surfing techniques, start by practicing your turns in the whitewater.
There are two types of main turns in surfing; trimming and carving. In this guide I will walk you through the step-by-step process of how to do trimming turns, as those are best suited for beginners to learn first. Let’s get into it!
What you need to know before you start practicing how to turn on a surfboard
Before jumping into the step-by-step process of how to turn on a surfboard, there are some things that are good to know first. Let’s start with covering those basics!
1. Learn how to control your speed before practicing turns
An important part of how to turn on a surfboard is being able to generate speed, and to be able to slow down. Therefore, you should practice this before starting to practice turning. Controlling your speed comes down to your weight distribution.
How to generate more speed: Put weight into your front foot
To generate speed, put more weight on your front foot. Do this by shifting your hips forward. The reason you should shift your hips forward is to prevent yourself from leaning your upper-body over. Do not lean your upper-body over, as that causes you to loose balance (and it looks kooky!).
How to slow down: Put weight into your back foot
To slow down, put more weight on your back foot. Do this by shifting your hips backwards. Again, do not lean your upper-body- keep it straight. Once you feel comfortable doing this, you can also try to move your back foot back over the tail, and even see if you’re able to lift the nose of the board out of the water.


2. Learn the difference between trimming vs carving turns
In surfing, “trimming” and “carving” are two distinct techniques used for maneuvering on a wave, each serving different purposes. Trimming turns are about maintaining speed and positioning on the wave, while carving turns involve more deliberate and aggressive maneuvers for changing direction and executing more dynamic surfing maneuvers.
As a beginner surfer, you should be focusing on learning trimming turns (in the whitewater) first.
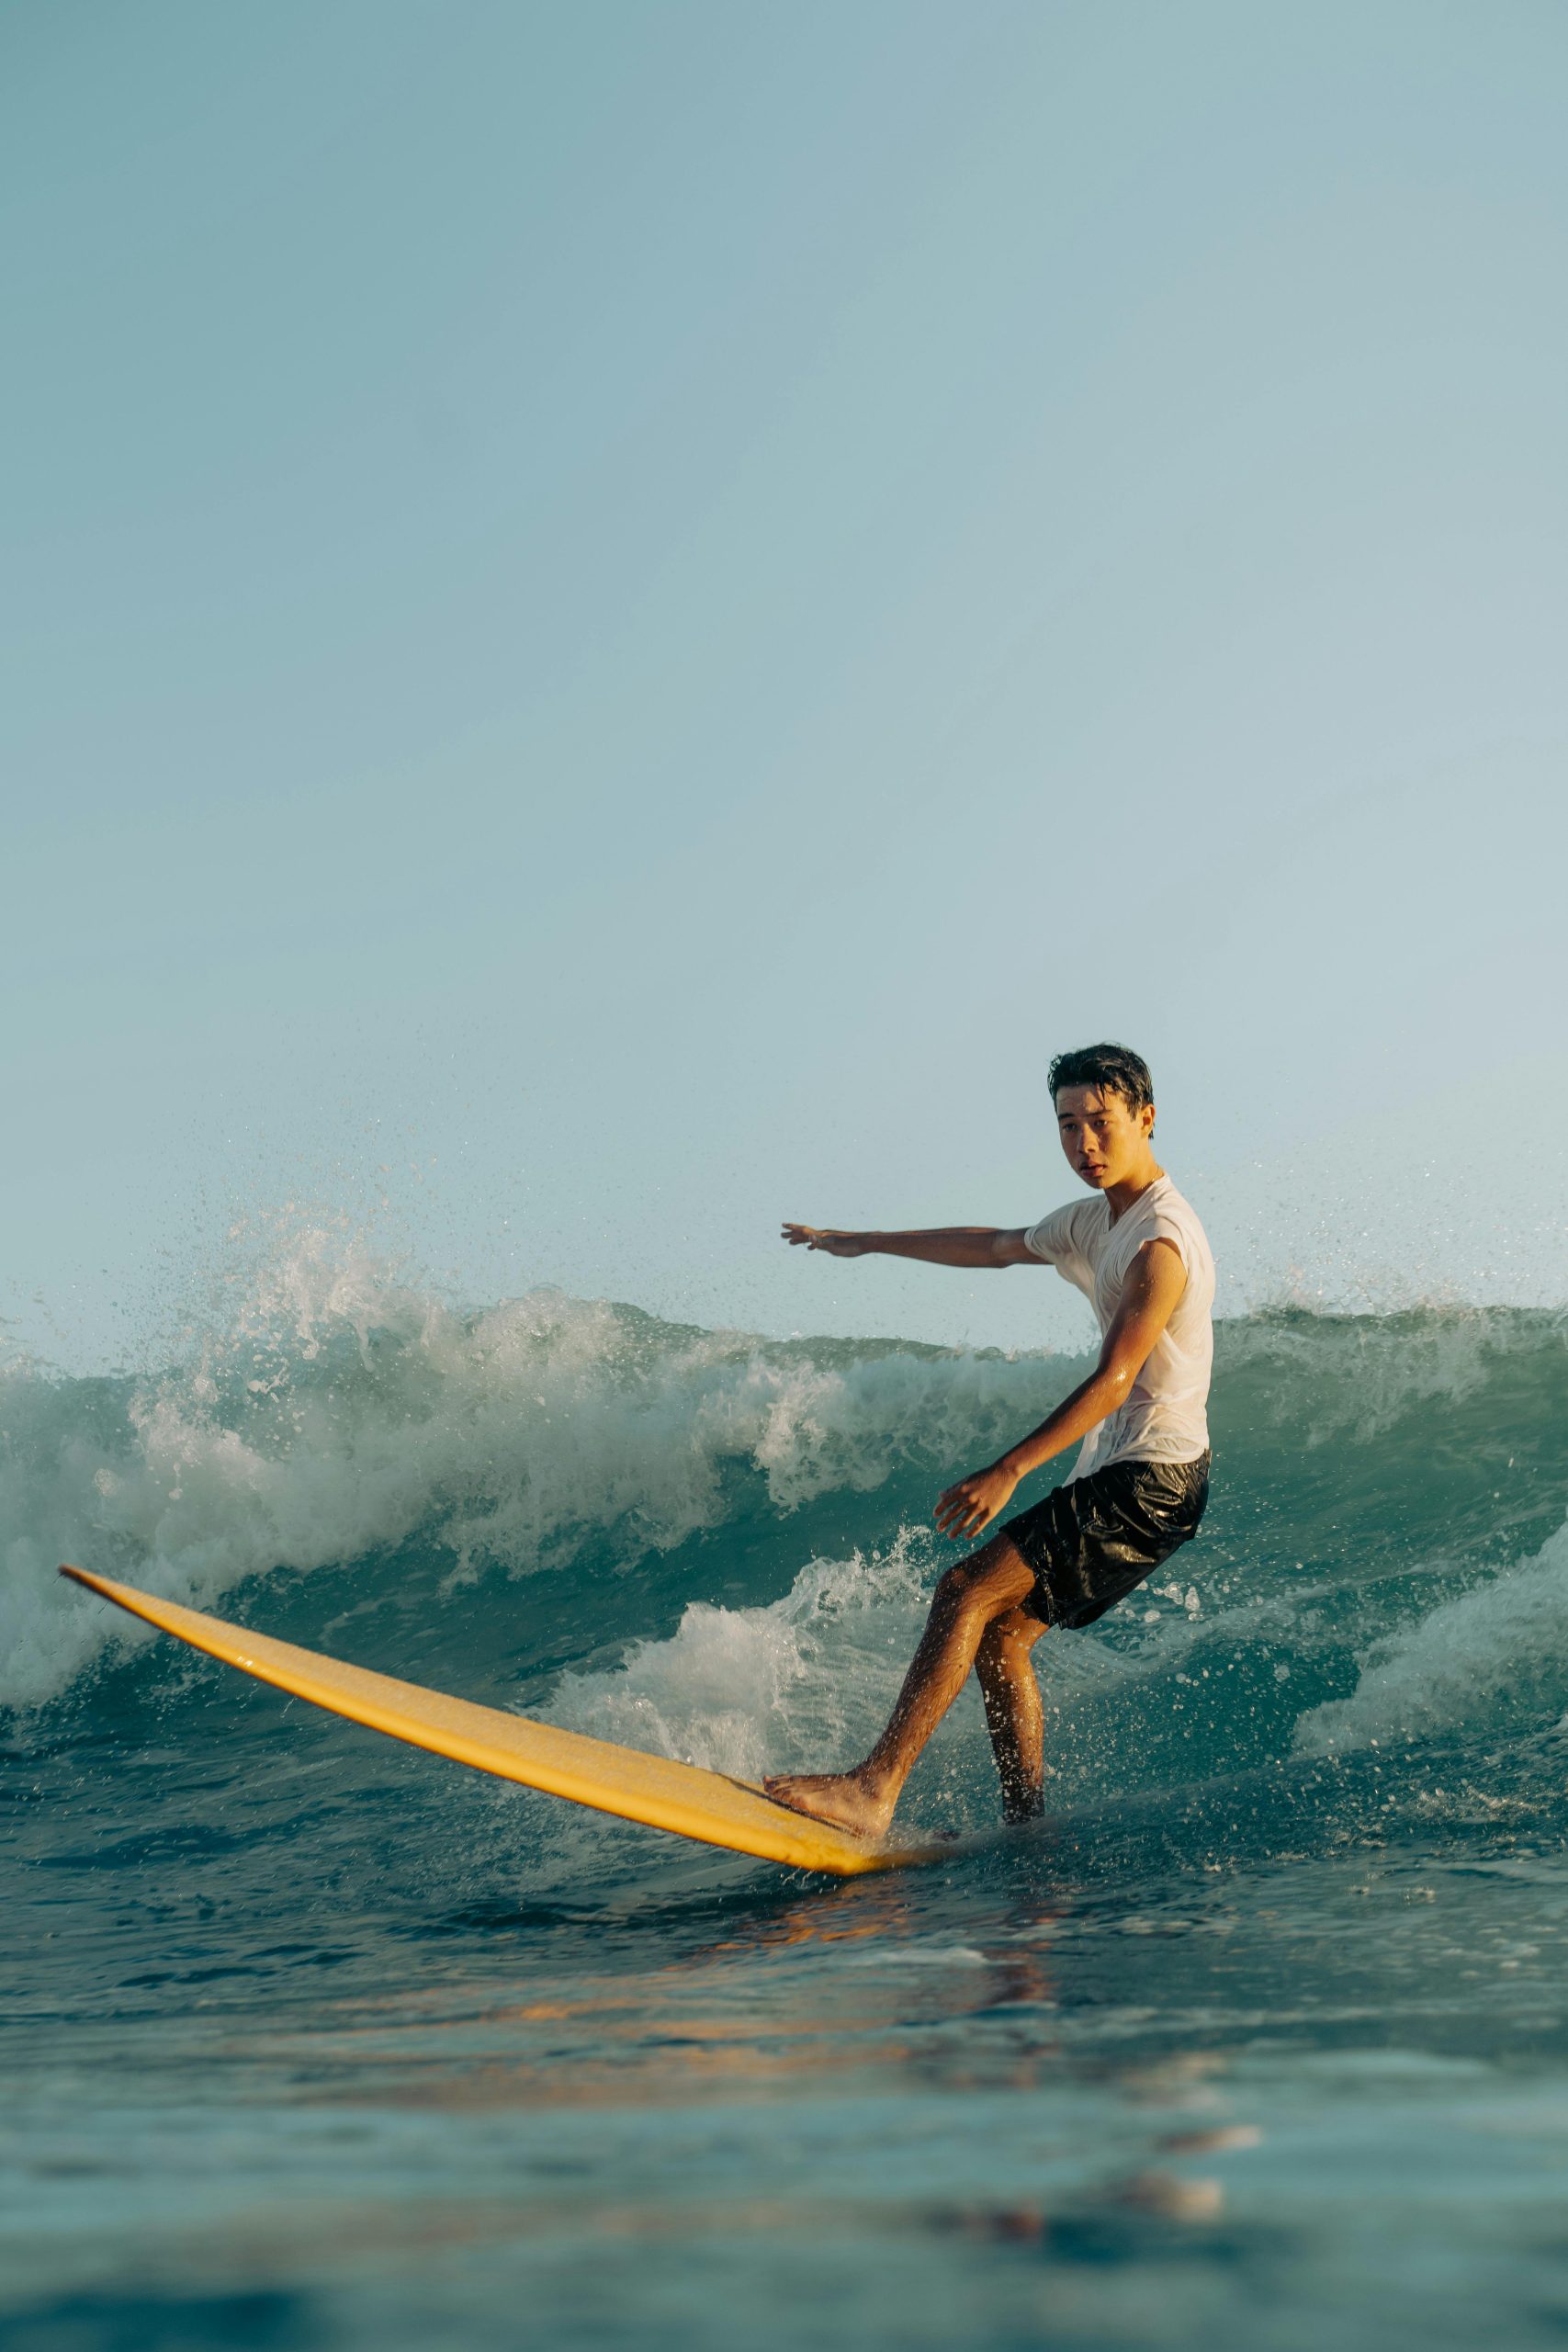
Trimming turns are used for subtle adjustments
- Trimming refers to adjusting the position of the surfboard on the wave to maintain momentum and speed without changing the direction significantly.
- It involves subtle adjustments in weight distribution and board angle to stay in the “trim zone,” where the board is balanced and gliding smoothly across the wave’s face.
- Trim turns are typically used when riding a wave to maintain speed and control, especially on long, peeling waves.


A trimming turn where the surfer is adjusting his position of the surfboard on the wave to maintain momentum and speed without changing the direction significantly
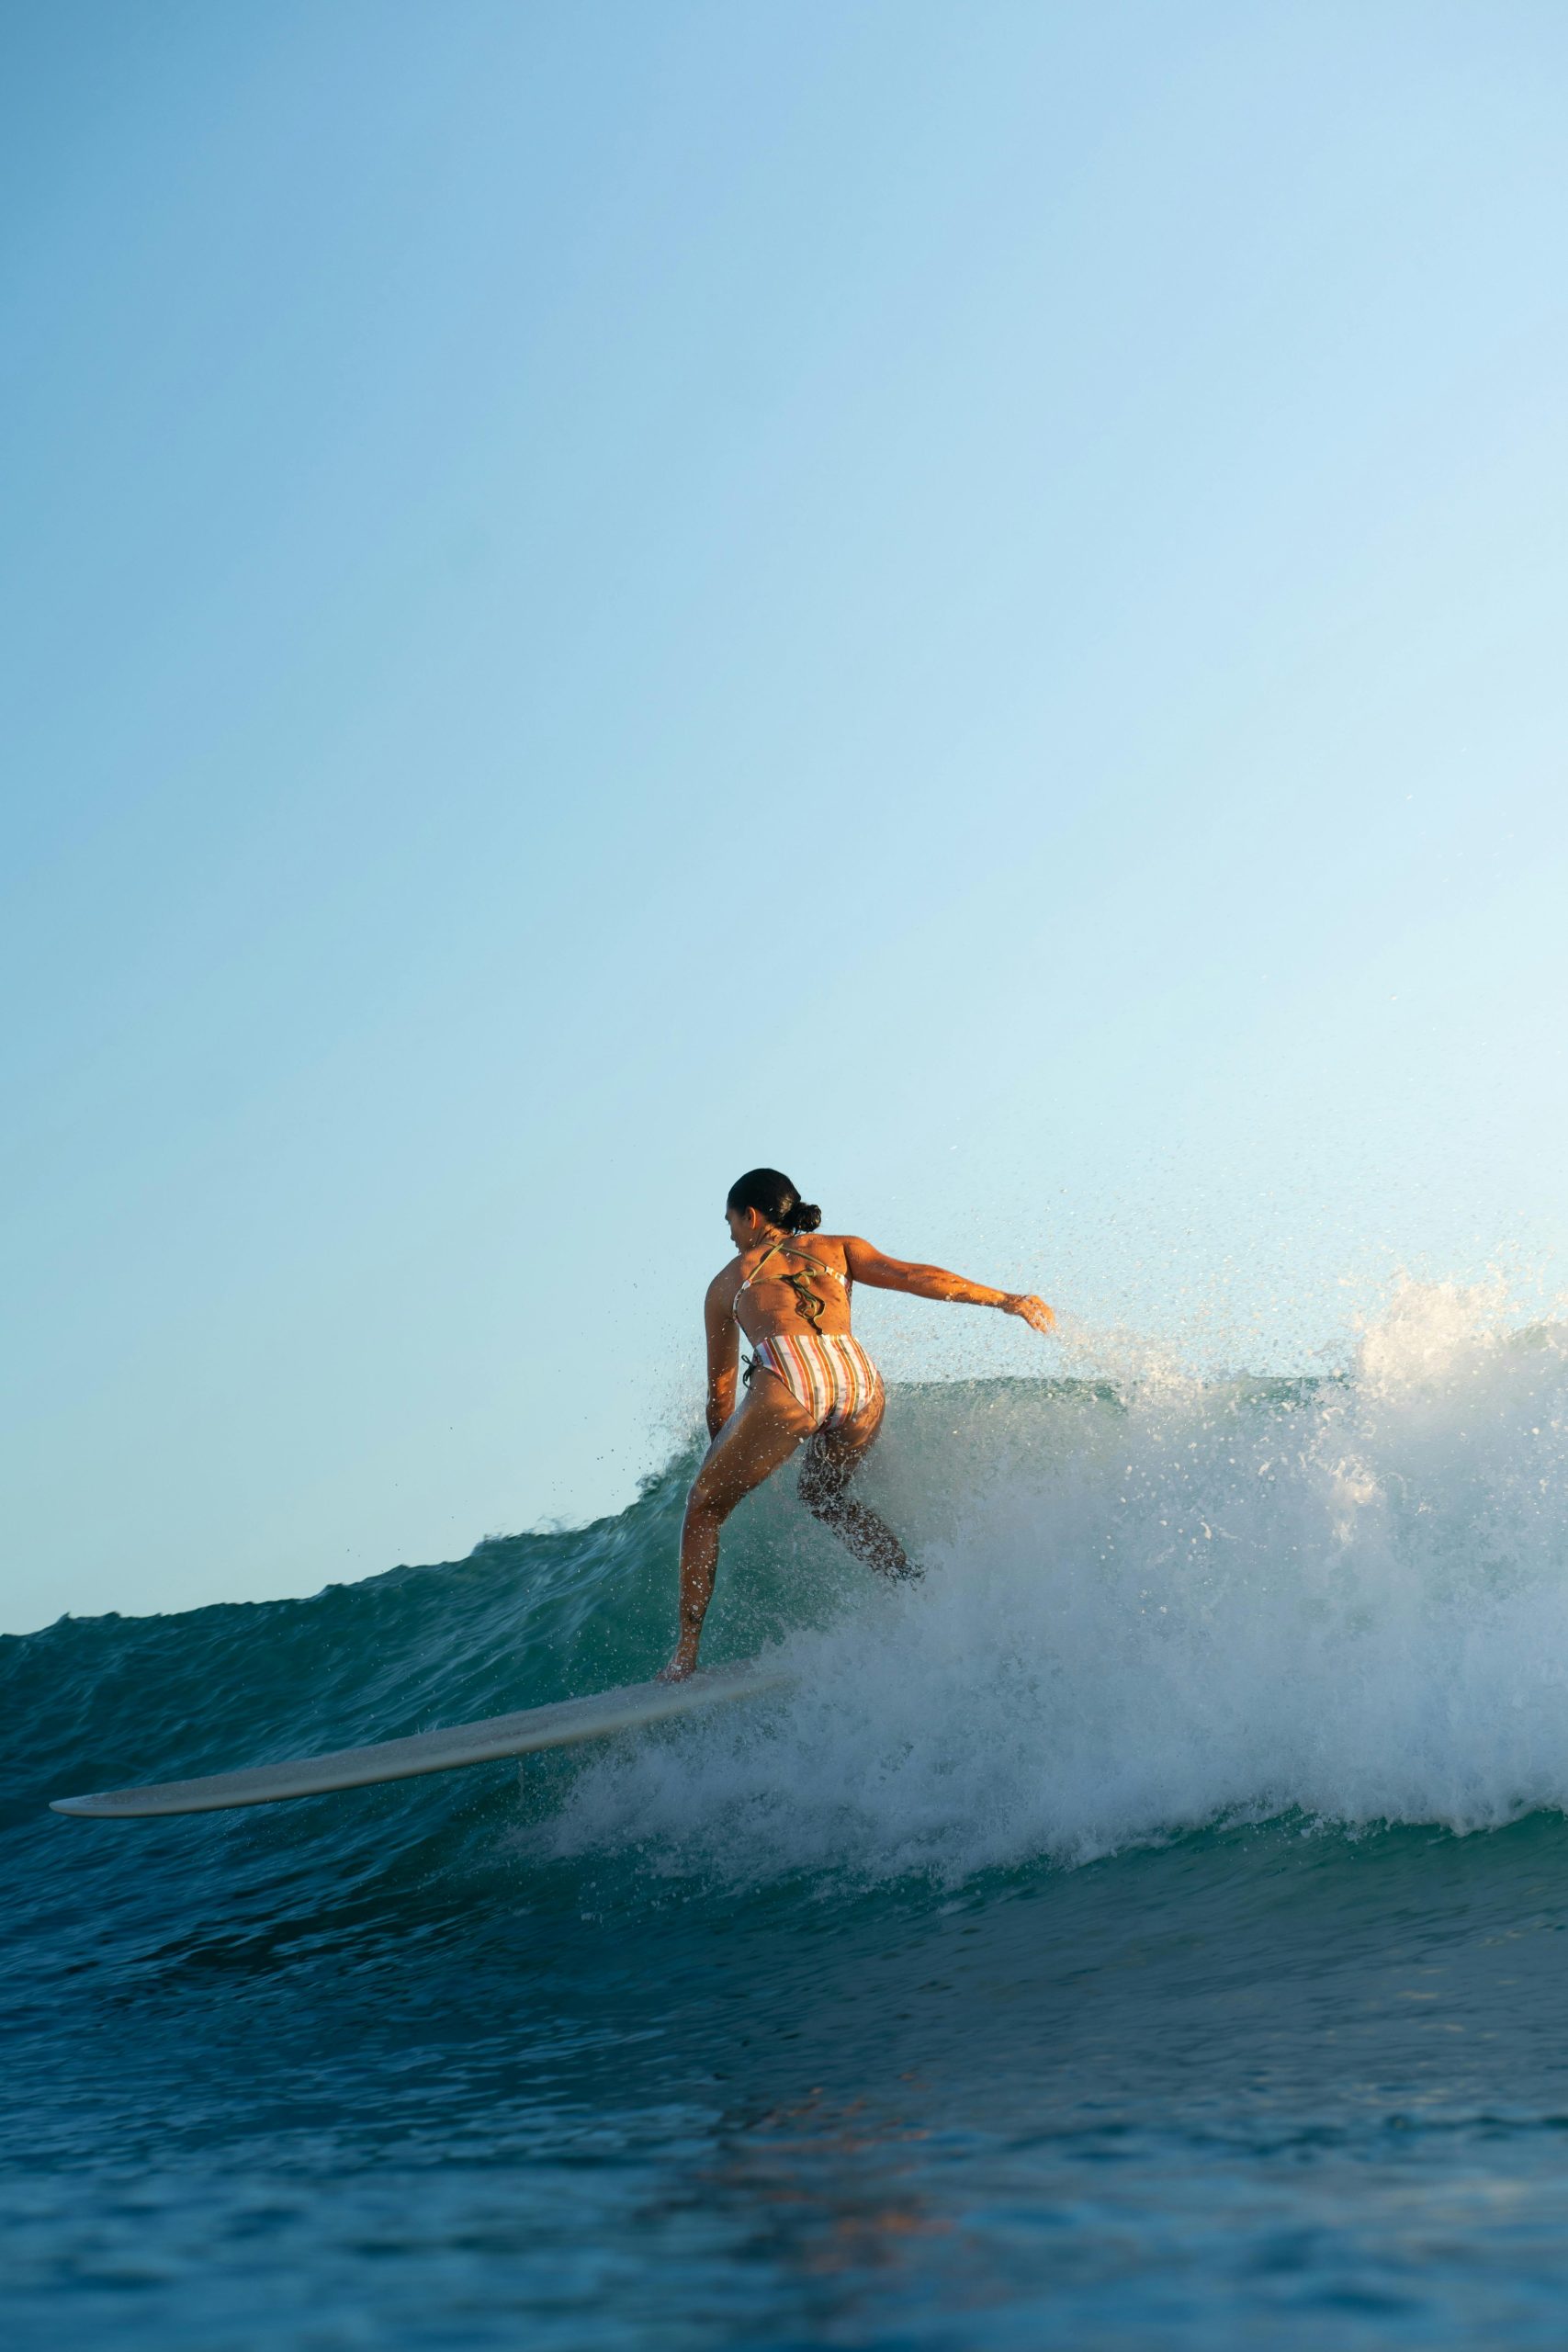
Carving turns are used for more aggressive and sharp maneuvers
- Carving turns, on the other hand, involve more aggressive maneuvers where the surfer pivots the board sharply to change direction, creating a distinct arcing motion.
- These turns are characterized by a deeper engagement of the rail (the edge) of the surfboard into the wave, generating more power and speed through the turn.
- Carving turns are often used for more dynamic and expressive surfing, allowing the surfer to perform maneuvers such as bottom turns, top turns, and cutbacks, which involve more radical changes in direction and surfing lines.
3. Learn the difference between frontside vs backside turns
Frontside turns are when the surfer is facing the wave while turning
- In a frontside turn, the surfer is facing the wave while making the turn.
- For regular-footed surfers (those who lead with their left foot), a frontside turn occurs when the wave breaks to the right, which is also when they turn to the right.
- For goofy-footed surfers (those who lead with their right foot), a frontside turn happens when the wave breaks to the left, which is also when they turn to the left.
Backside turns are when the surfer's back is facing the wave while turning
- In a backside turn, the surfer’s back is facing the wave while making the turn.
- For regular-footed surfers (those who lead with their left foot), a backside turn occurs when the wave breaks to the left, which is also when they turn to the left.
- For goofy-footed surfers (those who lead with their right foot), a backside turn happens when the wave breaks to the right, which is also when they turn to the right.


4. Learn how to turn on a surfboard in whitewater first
Last but not least- as a beginner, I recommend you to learn fundamental surfing techniques in the whitewater first, before going out to the green wave zone. That includes learning how to turn on a surfboard.

How to turn on a surfboard for beginners step-by-step
Now that you have learned good-to-know information about how to turn on a surfboard, let’s dive into the actual step-by-step process of turning. We will focus on frontside trimming turns and backside trimming turns, as those are best suited for beginners to practice and learn.
How to turn on a surfboard: frontside trimming turn
Step 1: Sink low in your legs to stay compressed
Bend your knees to get low and compressed. Do not lean your upper-body over. Your upper-body should be straight.
Step 2: Shift your weight to your front foot to generate speed
If you don’t have enough speed before initiating your turn, it will be more difficult to make the turn. Imagine riding a bike in very slow speed and trying to turn, vs. riding it in higher speed- it’s easier to turn the bike if you have a bit of speed. Same goes for surfing!
Earlier in this lesson I taught you how to generate speed. In short, put more weight on your front foot by shifting your hips forward.
Step 3: Look in the direction you want to go
By looking where you want to go, you naturally tend to steer your board in that direction. You eyes work as your steering wheel. Focus your gaze into the distance, looking well ahead of your current position.
Step 4: Shift your weight to your back foot to initiate the turn
Now that you have enough speed, continue to stay low and compressed and shift your weight to your back foot by shifting your hips backwards. This sends more weight towards the tail of the board and digs it into the water, which helps with turning the board.
Step 5: Shift and point your arms in the direction you want to go (toward the toe-side rail)
Next, shift your arms in the direction you want to go by rotating your hips and chest together with your arms. In a frontside turn you should be pointing your arms over the toe-side rail, meaning the side of the rails which your toes are pointing towards.
Step 6: Put extra weight on your toes
Put extra weight on your toes, however do not lean forward with your upper-body. It should be your toes working it, and your upper-body should stay straight! At this point, your board should have started to turn.
Step 7: Shift your weight back to your front foot and bring back your arms
Alright, now you should have successfully completed your frontside trimming turn! You don’t need to end the ride here though. Instead, shift your weight back again to your front foot by shifting your hips forward. Then, bring back your arms. This way, you don’t let the wave get away from you by riding over it and have it pass you, and you can instead continue to ride it as you continue to ride along it.
Step 8: Repeat the process
Now, repeat the process as many times as you want until the wave dissipates.
How to turn on a surfboard: backside trimming turn
Step 1: Sink low in your legs to stay compressed
Bend your knees to get low and compressed. Do not lean your upper-body over. Your upper-body should be straight.
Step 2: Shift your weight to your front foot to generate speed
If you don’t have enough speed before initiating your turn, it will be more difficult to make the turn. Imagine riding a bike in very slow speed and trying to turn, vs. riding it in higher speed- it’s easier to turn the bike if you have a bit of speed. Same goes for surfing!
Earlier in this lesson I taught you how to generate speed. In short, put more weight on your front foot by shifting your hips forward.
Step 3: Turn your chin to your front shoulder and look toward your backside
When doing a frontside trimming turn your head is already in the right direction. In a backside trimming turn however, you need to turn your chin to your front shoulder and look toward your backside to be looking in the right direction, which is the direction that you want to go in.
By looking where you want to go, you naturally tend to steer your board in that direction. Your eyes work as your steering wheel. Focus your gaze into the distance, looking well ahead of your current position.
Step 4: Shift your weight to your back foot to initiate the turn
Now that you have enough speed, continue to stay low and compressed and shift your weight to your back foot by shifting your hips backwards. This sends more weight towards the tail of the board and digs it into the water, which helps with turning the board.
Step 5: Shift and point your arms in the direction you want to go (toward the heel-side rail)
Next, shift your arms in the direction you want to go by rotating your hips and chest together with your arms. In a backside turn you should be pointing your arms over the heel-side rail, meaning the side of the rails which is closest to your heels.
Step 6: Put extra weight on your heels
Put extra weight on your heels, however do not lean backwards with your upper-body. It should be your heels working it, and your upper-body should stay straight! At this point, your board should have started to turn.
Step 7: Shift your weight back to your front foot and bring back your arms
Alright, now you should have successfully completed your frontside trimming turn! You don’t need to end the ride here though. Instead, shift your weight back again to your front foot by shifting your hips forward. Then, bring back your arms. This way, you don’t let the wave get away from you by riding over it and have it pass you, and you can instead continue to ride it as you continue to ride along it.
Step 8: Repeat the process
Now, repeat the process as many times as you want until the wave dissipates.
Common mistake: Leaning your upper-body
A common mistake that beginners make is leaning their upper-body over the board (I am guilty of it). It’s a common mistake that beginners often make to gain balance, however it has the opposite effect- by leaning your upper-body over your board, you put too much weight on one side of the board and loose your balance.
Instead, get low and balanced by bending your knees, but keep your upper-body straight.
Lesson quiz: test your knowledge

Time's up
I’d love to hear your thoughts on this post! Whether you have suggestions for improvement, want to share what you liked, or have any questions, feel free to leave a comment below. Your feedback helps me create better content for all aspiring surfers!